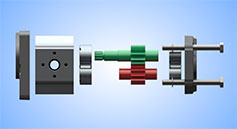
Correct installation of a hydraulic vane pump supports lubrication, acceptable noise levels and reliable circuit operation. Before starting, check the oil supply, cleanliness and connections. Replacing a damaged pump without addressing the original fault can lead to another failure.
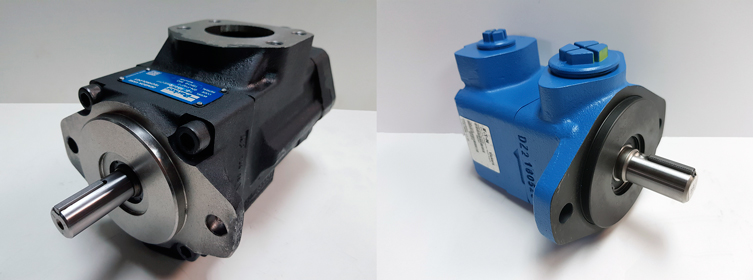
Preparation: safety and mechanical compatibility
These general guidelines supplement the instructions for the specific pump model. Installation and commissioning require hydraulic knowledge; use a qualified professional if the work exceeds the installer's competence. Secure the machine, release residual pressure and confirm that the rotation marked on the pump agrees with the drive.
Check shaft alignment and the mechanical connection. Avoid axial and radial shaft loads that the pump is not designed to withstand. The coupling must transmit motion without forcing the shaft; tightening the mounting bolts is not a remedy for misalignment.
Clean oil, reservoir and filtration
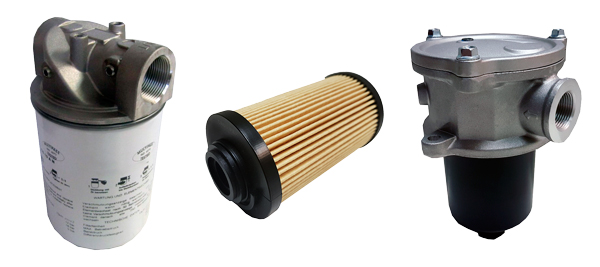
Choose a fluid suitable for both the pump and the complete system, using the viscosity and operating conditions specified in their manuals. Clean the inside of the reservoir before connecting the new unit. Inspect pipes, hoses, fittings and seals, replace the necessary filters, and introduce clean oil without allowing dirt to enter during filling.

Priming, suction and case drainage
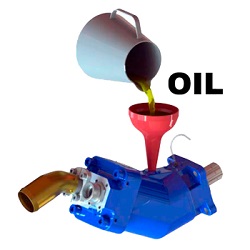
Prefill the pump case through the designated ports, following the manufacturer's procedure. Bleed air from the pump and the rest of the circuit, including lines, actuators, valves and connections. Do not use a new pump to flush contamination out of an installation.
- Size lines and fittings for the maximum expected flow.
- Keep the suction path free from restrictions and sharp bends; check its sealing to prevent air ingress.
- Inspect connections and watch for bubbles or foaming in the reservoir.
- If external case drainage is provided, follow the model's orientation and pressure limits. The general guide places the drain port uppermost, with a dedicated line to the reservoir ending below the oil level, to retain case filling and limit foaming.
Gradual start-up and final checks
Initially reduce relief-valve pressure settings in accordance with the machine's approved commissioning procedure. Run the unit for several minutes at the minimum permitted speed and at zero or minimum pressure. Then increase speed and pressure gradually to the conditions specified by the manufacturer.
Check leakage, oil supply, noise, vibration and temperature throughout commissioning. Stop if abnormal behaviour occurs, and identify its cause before continuing. Suitable flexible lines can help reduce transmitted vibration, provided their installation requirements are met.
Record the settings and the oil and filter references used. Model-specific manufacturer requirements take precedence over this general guide; failure to follow them can affect warranty coverage.